The next card the ladies did was this tri-fold card. These are all over the place, so I am not sure who to recognize for the work. They look difficult, but they really are quite simple. It takes more time to embellish and decorate than the actual making takes. this used my favorite DSP right now - Springtime Vintage. It is such a lovely feminine paper set. I also taught the ladies how to make the great scallop circle punch flowers and they were amazed!
The sentiment on this card is from my favorite go to saying set - Word Play.
Monday, April 4, 2011
Stylish Blogger - - - - I feel so honored!
A fellow demonstrator, Kendra Richardson, chose me for a Stylish Blog award! I feel so honored. You can check out HER amazing blog at Kendra's Creative Corner. There are some responsibilities that go with the honor.
- Thank the person who nominated you and share their blog - THANK YOU KENDRA -
- Share 8 things about yourself.
- Pass the award on to 8 other stylish blogs!
- Leave a comment to tell them you nominated them for a stylish blog award.
As for the 8 things about me -
- I have a love/hate relationship with chocolate - I can eat it all the time, but who should???
- I am Canadian by birth - American by naturalization.
- Paper crafting is my mental release.
- I love my Heavenly Father and his son, Jesus Christ - He is my everything.
- I have a wonderful husband who tries to give me everything I could ever want and need - he works very hard for our family and takes over when I am weak and can't be SUPER woman.
- I love mellow music - Seal, Michael Buble, Josh Groban, El divo
- I am a Broadway junkie! I can't get enough - - -
- If I could, i would eat pizza EVERY day :-)
Now to the most important part - the 8 stylish blogs I LOVE - -
- Natalie at DoodleCraft - http://doodlecraft.blogspot.com/
- Jan "Tink" at Stamps, Paper, Scissors - http://stampspaperscissors.typepad.com/stamps_paper_scissors/
- Dawn at Dawn's Stampin' Thoughts - http://dawnsstampingthoughts.typepad.com/dawns_stamping_thoughts/
- Ann at Ann's Creative Nook -http://www.annscreativenook.blogspot.com/
- Julie at Paper Pleasing Ideas - http://paperpleasing.typepad.com/my_weblog/
- Vimar at VS Paper Kreations - http://vspaperkreations.blogspot.com/
- Melanie at Oops a Daisy Designs - http://oopsadaisy.typepad.com/oops-a-daisy/
- Gretchen at Inspiration in Action - http://gretchenbarron.typepad.com/my_weblog/
CONGRATULATIONS ladies - enjoy the honor as well as I do!
Sunday, April 3, 2011
April Calendar
Here is my calendar of Stampin' Up! events for April. I always use My Digital Studio to create them... isn't it CUTE?! I love that I can get stamp images digitally that I wouldn't normally get for paper stamping and still get to use them. If you want to attend any event, please let me know a few days in advance.
Click to enlarge the calendar if you need to.
Tiny Thanks -
I had this scheduled to post a while ago, but for some reason it didn't go. SOOOO... here you go!
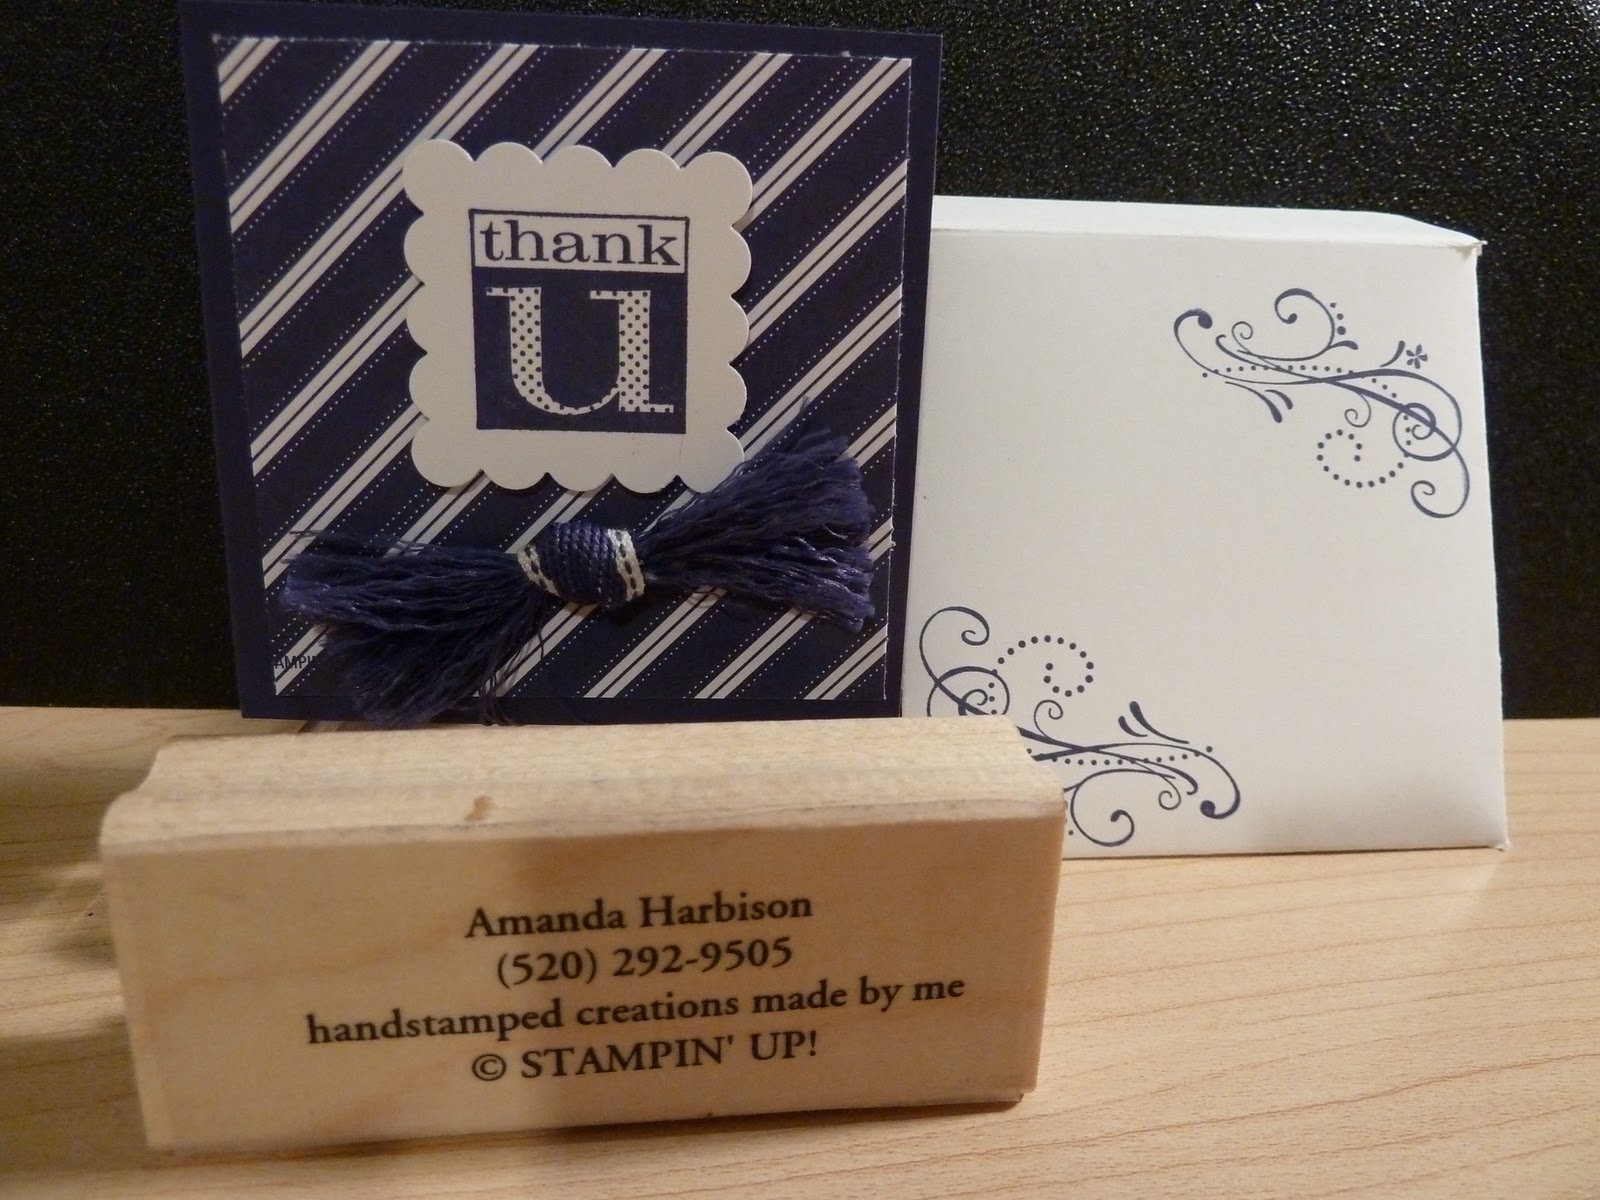
I couldn't seem to not do 4 projects with the club gals, so I picked a small project with these 3" x 3" thank you cards. They were able to chose what color they wanted and we made matching envelope to match. I think they are adorable! And simple too!
The DSP is from a Hostess pack of In colors. The stamp set for the sentiment is also a Hostess set - Cute by the Inch. I embellshed the tiny envelope with a fun swirl from the set Priceless. Monocromatic is so stunning! I showed the gals how to make the Poly Stitched ribbon have 2 separate looks simply by fraying the ribbon.
The envelope I found on a blog - Deanna Perrault You need a peice of CS cut to 7" x 4.25". You will score 1/2" on the long edges and 1" and 4.25" on the short one. Trim off the flaps on both ends and round the corners. Sticky Strip the envelope together and you have a great little gift card! Perhaps I will make my first tutorial post with photos of this???
Hmm... what do you think... would you like to see some tutorials with photos???
I couldn't seem to not do 4 projects with the club gals, so I picked a small project with these 3" x 3" thank you cards. They were able to chose what color they wanted and we made matching envelope to match. I think they are adorable! And simple too!
The DSP is from a Hostess pack of In colors. The stamp set for the sentiment is also a Hostess set - Cute by the Inch. I embellshed the tiny envelope with a fun swirl from the set Priceless. Monocromatic is so stunning! I showed the gals how to make the Poly Stitched ribbon have 2 separate looks simply by fraying the ribbon.
The envelope I found on a blog - Deanna Perrault You need a peice of CS cut to 7" x 4.25". You will score 1/2" on the long edges and 1" and 4.25" on the short one. Trim off the flaps on both ends and round the corners. Sticky Strip the envelope together and you have a great little gift card! Perhaps I will make my first tutorial post with photos of this???
Hmm... what do you think... would you like to see some tutorials with photos???
Saturday, April 2, 2011
Fancy Folds class- March
For March, I had my Stampin' Up! stamp a stack with the ladies focusing on varieties of folded cards. Typically a card is made with an 8 1/2" X 5 1/2" paper folded in half. These cards all used different folds. The first was a basket fold card inspired by one I saw on Janine Tinklenberg's blog Stamps, Paper, Scissors. I already knew I wanted to use the set Awash with Flowers so the basket fold was an easy choice. The colors are Melon Mambo, Pacific Point and Daffodil Delight. I ran the card front through the Big Shot using the Square Lattice impressions folder.
The saying is from a hostess set - Afterthoughts. (you gotta love being a hostess and getting FREE STUFF!
Wednesday, March 16, 2011
Technique card for march club - SWIPED!
had the ladies learn the Baby Wipe Swipe technique. I wanted a fun masculine card and chose the colors Elegant Eggplant, Garden Green and Pumpkin Pie.The sets I used wereLook Who's Turning and a Sale-a-Bration set that you can earn for FREE - Punch Bunch. I had to use this little owl - he is just so cute!
I always love showing how you can make your own patterned paper or backgrounds with stamps or other simple things.
I was super excited when I realized that I could use this card for a bunch of birthdays in my family this year! It is fun to use this set to spotlight the age of the receiver, and I seriously searched my birthday list to see if I had any 12 year olds, 23 year olds, 34 year olds... etc I was THRILLED to see that I have a set of nieces and nephew who are turning 34!!!! Guess what card THEY are getting?!
I always love showing how you can make your own patterned paper or backgrounds with stamps or other simple things.
I was super excited when I realized that I could use this card for a bunch of birthdays in my family this year! It is fun to use this set to spotlight the age of the receiver, and I seriously searched my birthday list to see if I had any 12 year olds, 23 year olds, 34 year olds... etc I was THRILLED to see that I have a set of nieces and nephew who are turning 34!!!! Guess what card THEY are getting?!
Tuesday, March 15, 2011
Easter Box
I had the ladies at our March club make this adorable Easter box. It used the Fancy Favor box die for the Big Shot. Have I told you how much I love that tool????? I have a hard time NOT using it every time I create. This was another punch art sample for them. The bunny was easy - I took a few minutes on the the Stampin' Up! demonstrator only group, Stampin' Connection, and came up with some ideas to get my mojo going for this cute bunny. I can't give credit to any one person - but to MANY- I think I took bits and peices of about 5 samples, and then did my own thing to make it perfect.
The box was made with Bashful Blue CS and accented with Blushing Bride for the punch tag and Pear Pizzazz for the ribbon. The trim on the top of the box was made with Springtime Vogue DSP cut out with the same Fancy Favor Box die. The handle was from the extra piece left over after cutting out the box. The Easter Wishes stamp comes from a wonderful holiday set - ALL HOLIDAYS.
The punches used were Full Heart, 2 3/8" scallop circle, 1 3/8" x 5/8" oval, 1 3/4" x 7/8" oval, and the eyes were from the 2 Step Owl punch. The edges were all chalked with Pretty in Pink chalk and I highlighted the eyes with the fabulous White Signo gel pen!
The box was made with Bashful Blue CS and accented with Blushing Bride for the punch tag and Pear Pizzazz for the ribbon. The trim on the top of the box was made with Springtime Vogue DSP cut out with the same Fancy Favor Box die. The handle was from the extra piece left over after cutting out the box. The Easter Wishes stamp comes from a wonderful holiday set - ALL HOLIDAYS.
The punches used were Full Heart, 2 3/8" scallop circle, 1 3/8" x 5/8" oval, 1 3/4" x 7/8" oval, and the eyes were from the 2 Step Owl punch. The edges were all chalked with Pretty in Pink chalk and I highlighted the eyes with the fabulous White Signo gel pen!
Monday, March 14, 2011
Ecclectic Stamp club
March is a fun month - fast, but fun. Annette was our hostess and she wanted to make a scrapbook page. I wanted to spotlight an Easter gift and of course we have our technique card and birthday card. SOOOO what resulted was a wonderful mix of fun! I want to share the scrapbook layout first since i was sort of of a scrapbook roll in my earlier posts.
This layout didn't really use much stamping (just the sentiment in fact) however, I have wanted to kick up the punch art with the ladies, so this was a wonderful example. They punched the Easter chick and voila! Super cute layout!
The colors were inspired by the wonderful Springtime Vintage DSP. I love this paper and will be so sad when it retires after April 30. Rose Red and Always Artichoke are a great combination. The chick was punched out of Daffodil Delight with the 1 3/4" scallop circle, 2" x 1 3/8" oval punch, snowflake punch, 2 Step Owl punch and the 5 Petal Flower punch. I chalked the edges with Pumpkin Pie chalk to give it some dimension. I CASEd a card I received at Stampin' UP! Regional convention in 2010 to make this element. The sentiment was punched out and added. Rose Red Seam Binding ribbon adds just a special touch to the Scallop Trim border punched strip
Sunday, March 13, 2011
Wheeling Easy - part 2!
The second layout was inspired by my musical children. They love music and all have chosen some sort of music to learn - James plays saxophone- alto and tenor. He owns 3 of them! Nathan is our beat keeper - drummer. He will bang on everything. I suppose Africa was a GREAT place for him to serve his mission. Michelle has a great set of her own portable pipes. She can rock anywhere with her angelic voice. Nick covers it all - he plays trumpet, picked up French Horn this year and sings tenor as well!
So in honor of my musical children - voila! A traditional elegant black and red layout was born. I made my own patterned paper with the Baroque Motifs stamp set (my HUGE 'go to' set). The wheel on this one was Music Notes.
I love the simple elgance of this layout.
So in honor of my musical children - voila! A traditional elegant black and red layout was born. I made my own patterned paper with the Baroque Motifs stamp set (my HUGE 'go to' set). The wheel on this one was Music Notes.
I love the simple elgance of this layout.
Saturday, March 12, 2011
Wheeling Easy!
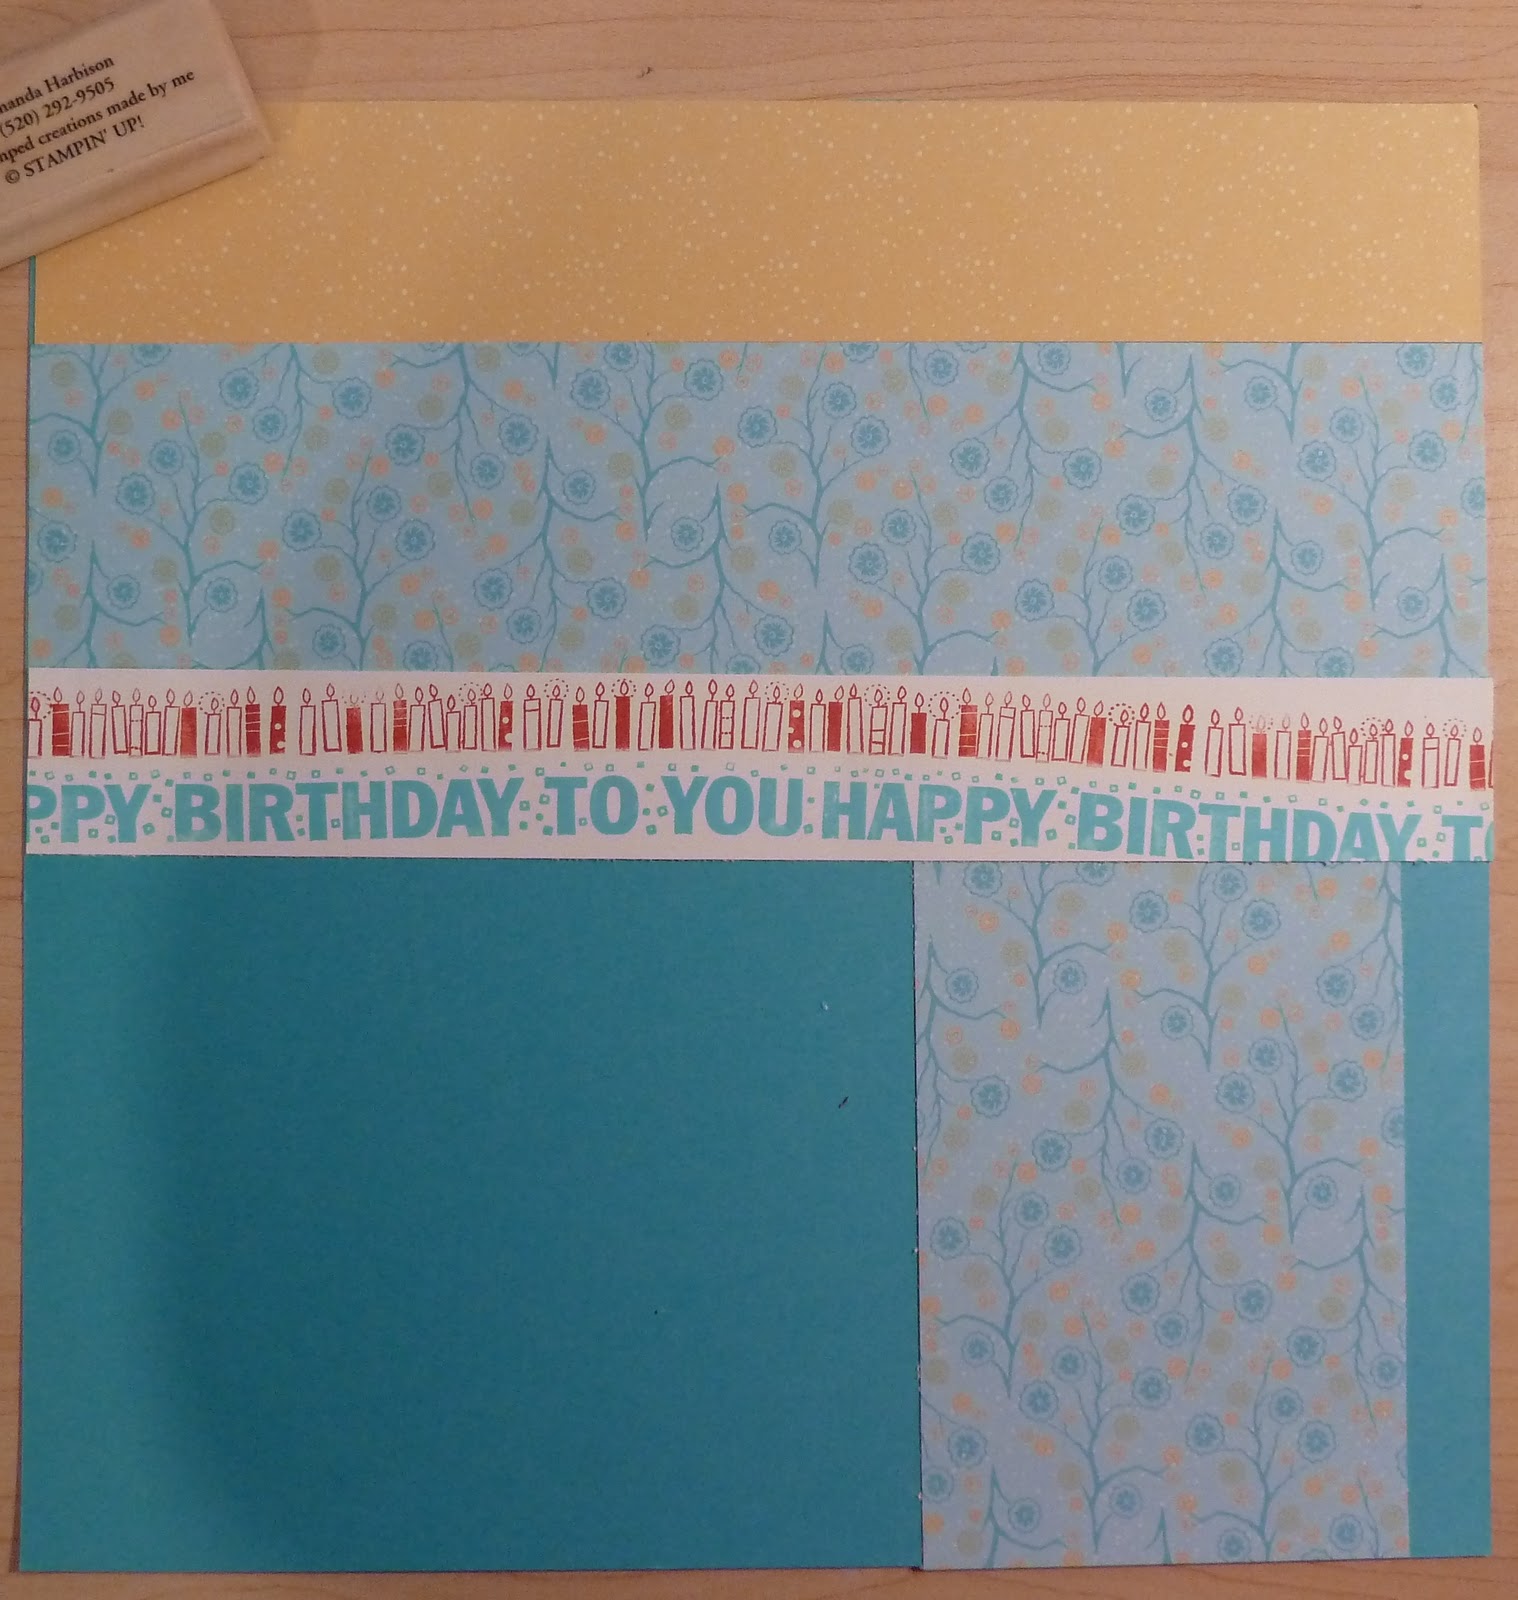
I had a great scrapbook class for Feburary and particually loved one set of pages. I think one of the best tools around to make simple fun pages is the Stampin' Up wheels. They are so easy to use, and make quick accents and patterns. The two sets of pages from the scrapbook class for February showcased them.
The first set was a birthday layout. I used the colors Tempting Turquoise, Real Red, and So Saffron. The most adorable cupcakes were made with the fabulous set Create a Cupcake. I used builder wheels on this page - Birthdays and Candle Crazy.
Monday, March 7, 2011
birthday cards in MDS
Ok, so I got busy and didn't get you the last few posts about My Digital Studio. However, today's MDS tip is one that is a great time saver! I don't know if you are like me and end up forgetting birthdays until the DAY! I am so bad at that! Well, with My Digital Studio you don't have to look like a heel for forgetting - all you need is an email and your digital designed paper project!
Here is an example that I have been emailing or posting to facebook lately. I used a template that comes with the software and tweaked id a bit to make it my own. The origional had a different sentiment and I changed one of the flowers. It took me just a few minutes to change it up to personalize it for my friends!
Just one more reason why YOU need a copy of My Digital Studio. CONTACT me to get yours today!
Here is an example that I have been emailing or posting to facebook lately. I used a template that comes with the software and tweaked id a bit to make it my own. The origional had a different sentiment and I changed one of the flowers. It took me just a few minutes to change it up to personalize it for my friends!
Just one more reason why YOU need a copy of My Digital Studio. CONTACT me to get yours today!
Tuesday, March 1, 2011
Stamp a Stack - February
here are some fun cards that we made at February's Stamp-a-stack. The first is my favorite. It uses a Sale A Bration set - Punch Bunch. I had seen several cards with bows made from the small and large oval punches.This is a hinge card and it has a little card hiding inside. The colors were inspired by the Celebration DSP - Real Red, Pear Pizzazz, and Pacific Point.
The second card was all about the chocolate! it was fun to use the new Occaisions mini catalog set Eat Chocolate. I also used Daffodil Delight 3/8" taffeta ribbon and the sweet stitches buttons. The colors were Melon Mambo, Daffodil Delight and Early Espresso.
the fun card was inspired by a fellow demonstrator - Holly at InkPaperStamps. I had envisioned an ice cream cone, but had a difficult time getting it small enough to make a card. She saved the day with her idea for making it a card on it's own! THANK YOU!
This last card was one that came into my mind after i saw a card posted somewhere (sorry I don't' remember where) I used Vintage Vogue as my stamps, Pear Pizzaz, Not Quite Navy and Peach Parfait were the colors. The knot is made with the In Color poly stitched ribbon.
Here are the fun cards we did at February's stamp a stack -
Monday, February 28, 2011
MDS commercial
So here is a day break from all the reasons why YOU need to own My Digital Studio. I couldn't get photos of the last 2 club cards from February since my camera was stolen, however ... I have replaced the camera and got the photos taken - so before I forget - here they are!
The first is a technique card using the marble background technique. I used the colors Pear Pizzazz, Regal rose and Baja Blue. There is only one stamp set used - and it is Word Play. I also used the new Sweet Button embosslit. The adorable buttons are actually die cut! The addition of black stitch marks make this card pop!
This card used my favorite set out of the Sale A Bration flier - Bliss. It is gorgeous and so elegant. I got my color inspiration from the Designer Series Paper Elegant Soire. It is beautiful. I taught the ladies how to make a bow without tying it - I found this wonderful idea from Lee Conrey - she posted a great tutorial on Stamping 411 which I copied and taught my club. They all loved it!
Sunday, February 27, 2011
My Digital Studio - Day 3
As promised today I am sharing a card that my best friend Sara created. Her sister announced she was getting married and Sara got right to work in her My Digital Studio to come up with some ideas. She saved her creations on her laptop and a few days later came over with laptop in tow. We looked at her designs and made a few adjustments and then I dug out the right paper and stamps for her. She created a wonderful card to mail to her sister, BUT before she even saw the REAL card - she had been given a sneak peek through an email Sara sent to her - she fell in love with the card and Sara went off to work ordering the paper and products she needed to recreate the card for her sister to mail.
She used Concord Crush, Old Olive, and Daffodil Delight. The stamps were from my favorite elegant set - Baroque Motifs. She added brads and a different ribbon - but the idea blossomed from her My Digital Studio.
SOOOOO............... what are YOU waiting for? Contact me today to order YOUR copy of My Digital Studio - you will get FREE stamps with your order!
Saturday, February 26, 2011
My Digital Studio day 2
Today's card is a fun birthday card or invite. I used a bright color pallet of Daffodil Delight, Concord Crush and a touch of Poppy Parade. You could easily recreate this card using paper and stamps. I am planning on doing just that thing with this card. I like to see the card before I cut paper so I pulled out my computer and opened up My Digital Studio to create a digital card. Now that I have tweaked it how I like it, I can re-do it with paper and stamps! I am not out my precious resources to a failed project.... My Digital Studio saves the day!
The stamp set that I used for the background is Circle Circus (still my GO TO fav!) and I also added the sentiment stamp from Party Hearty.
Watch for tomorrow's My Digital Studio tip that I share with a sample by my best friend Sara. Her sister announced her marriage and Sara offered to make her invites. Stay tuned to that story TOMORROW!
Subscribe to:
Posts (Atom)